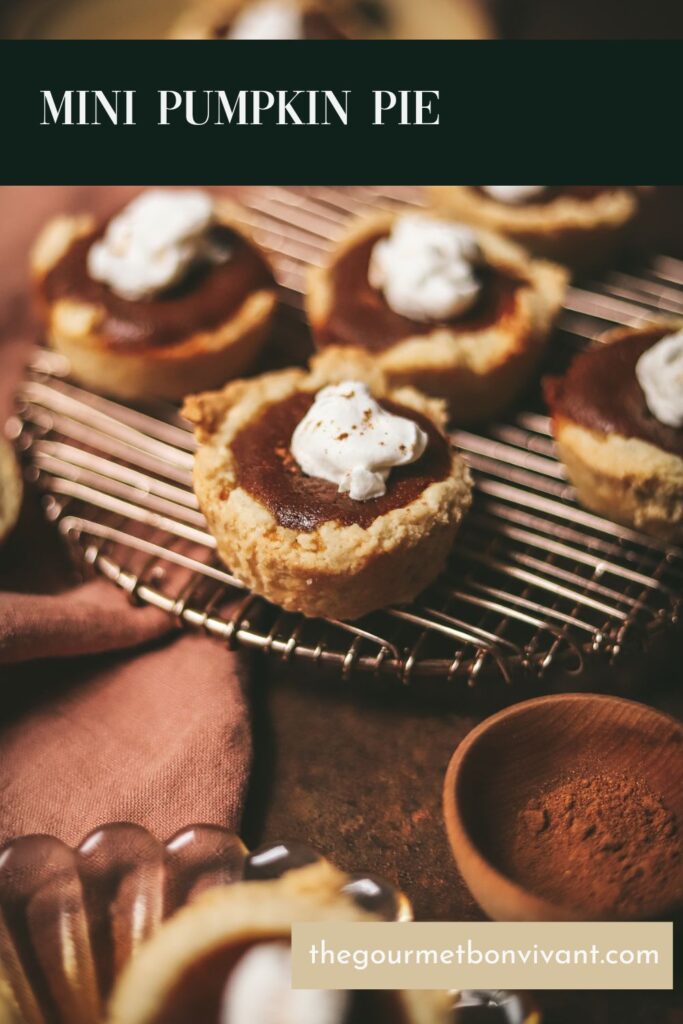
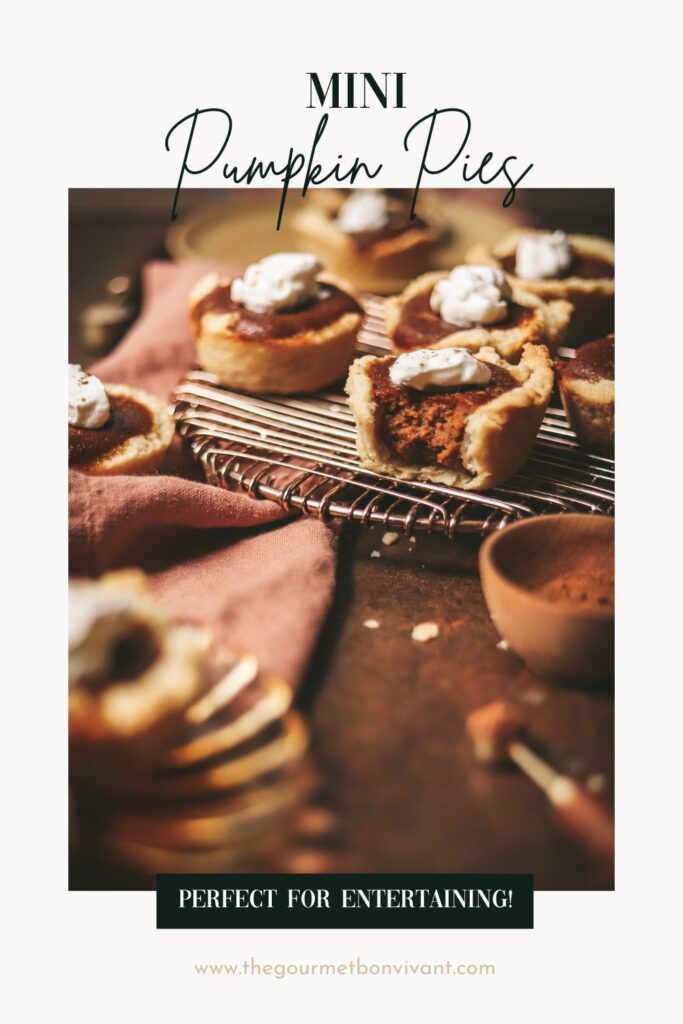
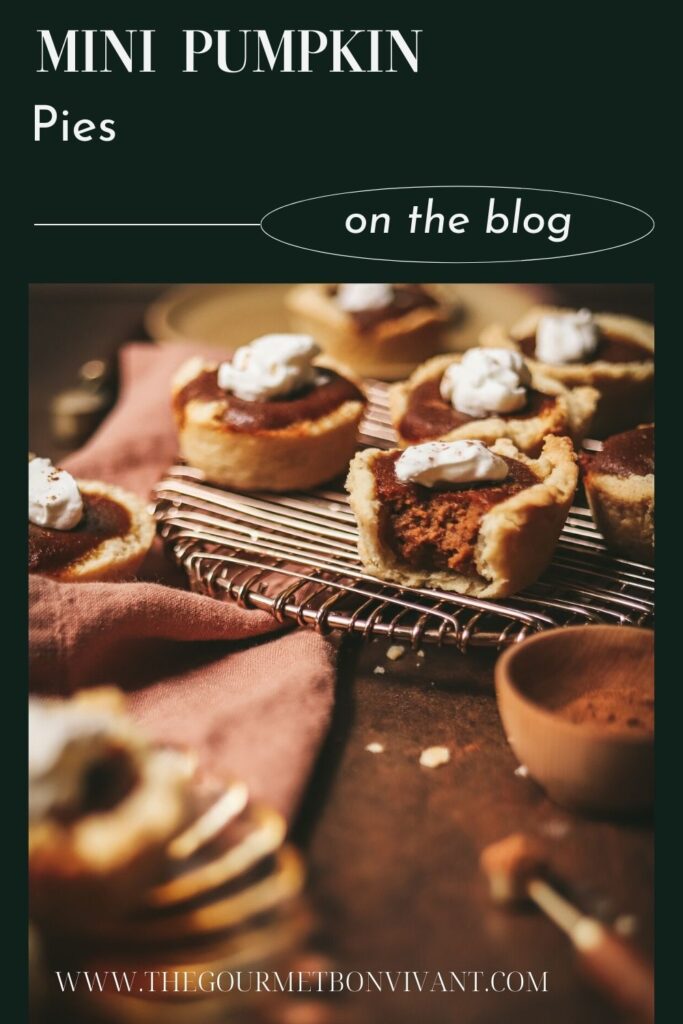
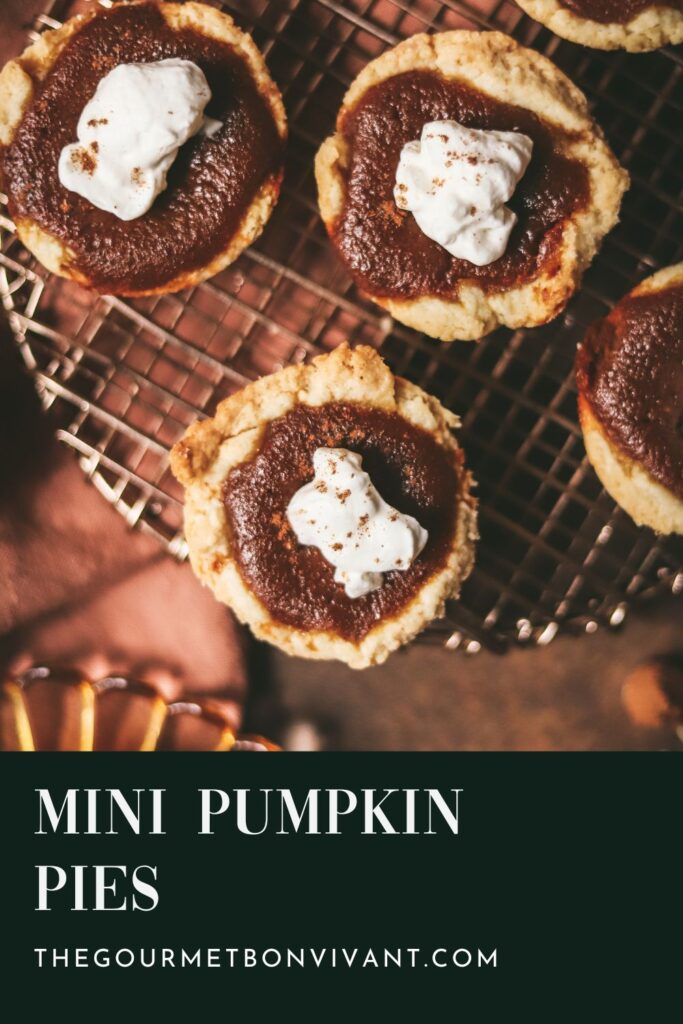
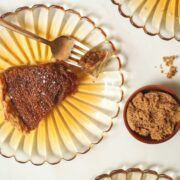
These cute as as button mini pumpkin pies are going to be the star of the show at your next holiday party. Not only are they adorable, but they are perfectly decadent, and full of the warm, cozy flavors of fall.
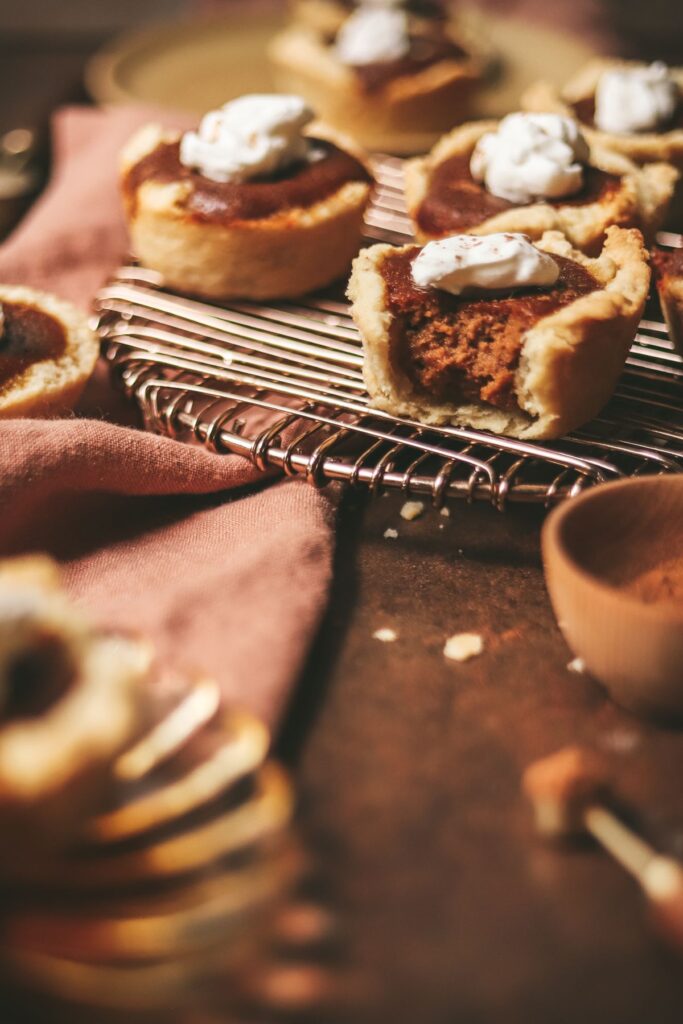
I don't know about you, but 'mini' anything always gets me. It's like, if it's not the 'full-sized' version, you can justify eating 4x as many. Because, you know, it's mini. So.
These mini pumpkin pies are sweet, filled with warming spices, and perfectly hand-held. Add some whipped cream for a delicious bite of fall.
Check out the web story here.
Jump to:
Frequently Asked Questions
They are very similar to normal pumpkin pie - but made as individual servings, usually in a muffin tin. There's a bigger crust to pie ratio as well. Otherwise, the recipe remains almost identical!
You should cooking them for between 30-35 minutes, until the filling has set and is not longer jiggly.
Yes, absolutely!
Totally - this will cut down on the time and effort to make them significantly.
Yes, you can. You just need to make sure it's completely cooled before you freeze it, which will take a couple of hours. Otherwise, it freezes just fin.
Why You're Going to Love this Recipe
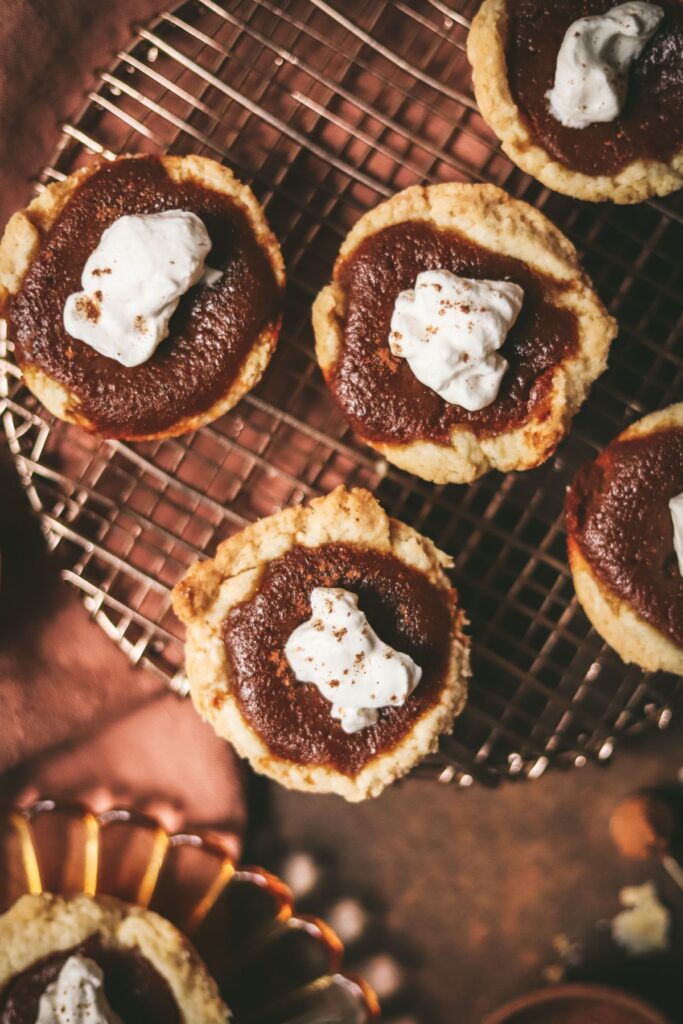
- First of all, look at how CUTE they are.
- Second, this pie recipe is one of my favorites. The filling isn't overly sweet, and we're adding a bit of (optional) bourbon to give it some edge. But, it still has that lovely pumpkin flavor we all know and love.
- Individual treats come in handy for all manner of occasions (holiday cocktail parties anyone?)
- Plus, it's so fun to have a couple of different options for dessert - if one of those options is mini, people can try everything 🙂 At least, that's my theory.
- You can cut down on the time and effort it takes to make these by using pre-made mini pie shells.
- You can also make them ahead of time and freeze them!
Ingredients
All the usual suspects are here - let's get to it.
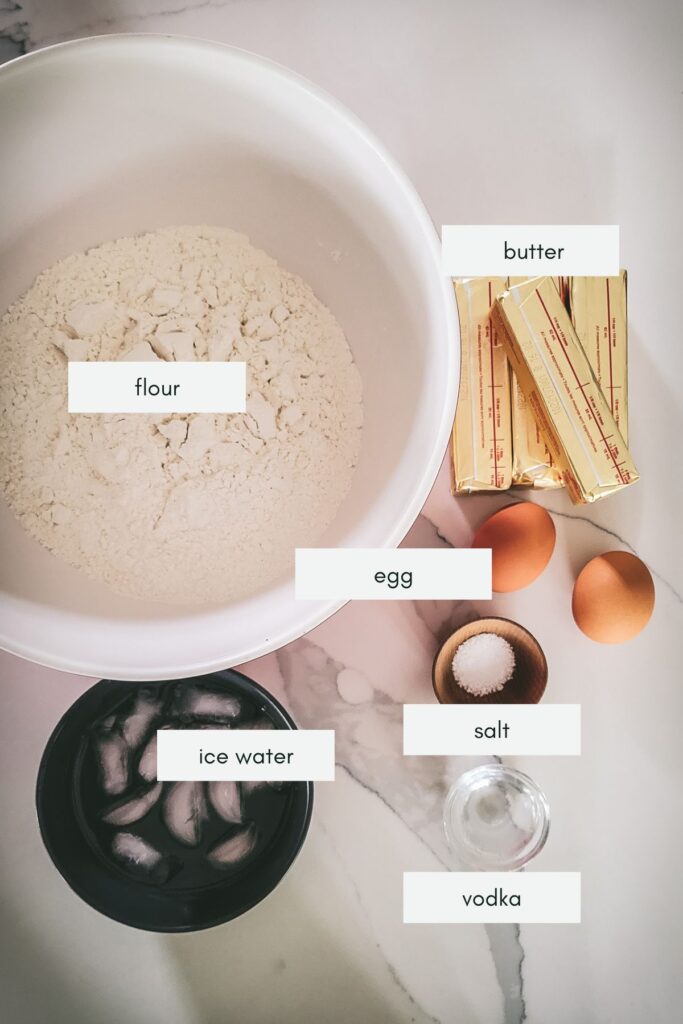
For the Crust
- Flour
- Butter
- Ice water
- Egg
- Salt
- Vodka
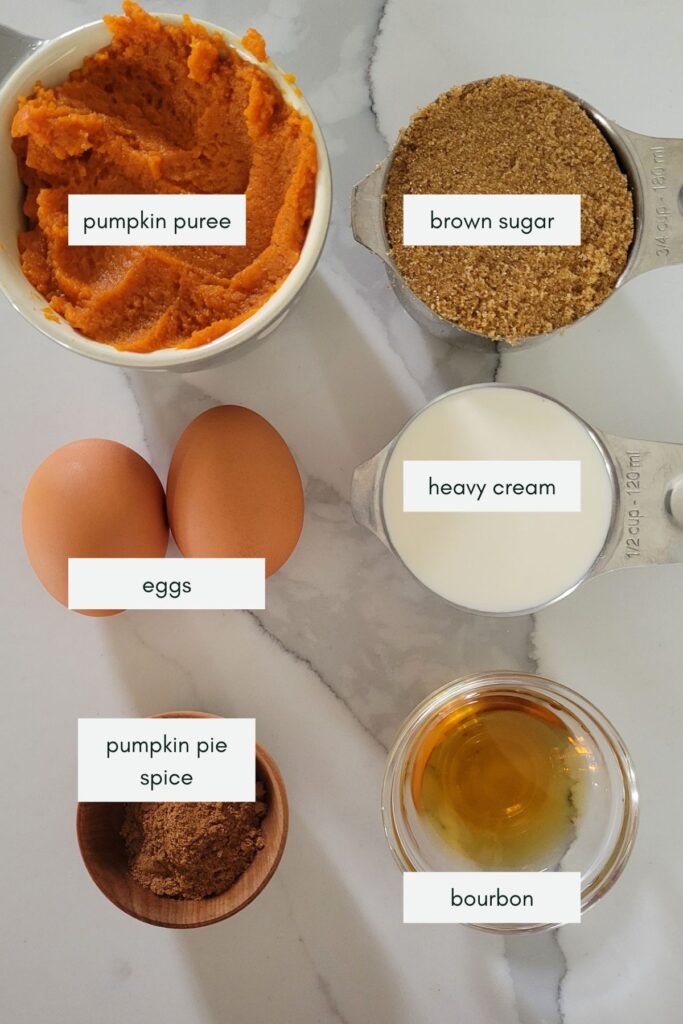
For the Filling
- Pumpkin puree
- Brown sugar
- Eggs
- Heavy cream
- Bourbon
How to Make Mini Pumpkin Pies
First things first, let's get this crust going.
Note: the one think that bakers agree on is that the butter and the liquid in the pie crust MUST be cold when it hits the oven. This is what gives you that flaky texture we're all looking for.
For this recipe, we're going to start by cubing our cold butter, and adding it to the flour. Using a pastry cutter, cut the butter in until it's around the size of peas.
In a separate bowl, we're going to mix the ice water, the egg, the vodka, and some salt. Pour it into your butter/flour mixture and mix with a fork. Once it's mixed, use your hands to knead it until the crust is BARELY coming together (it will look flaky and shaggy). At this point, put it in some plastic wrap and leave it in the fridge for about an hour.
Take it out of the fridge, and let it warm up for about 5 minutes. If you need to knead it again with your hands to make it come together, you can do that, but remember we're trying to handle the dough as little as possible. Roll it out with a rolling pin and plenty of flour so it doesn't stick. Once it gets to about ¼" thick, use a cookie cutter (or just a rocks glass) to cut circles out of the crust. Place them in a prepared muffin tin.
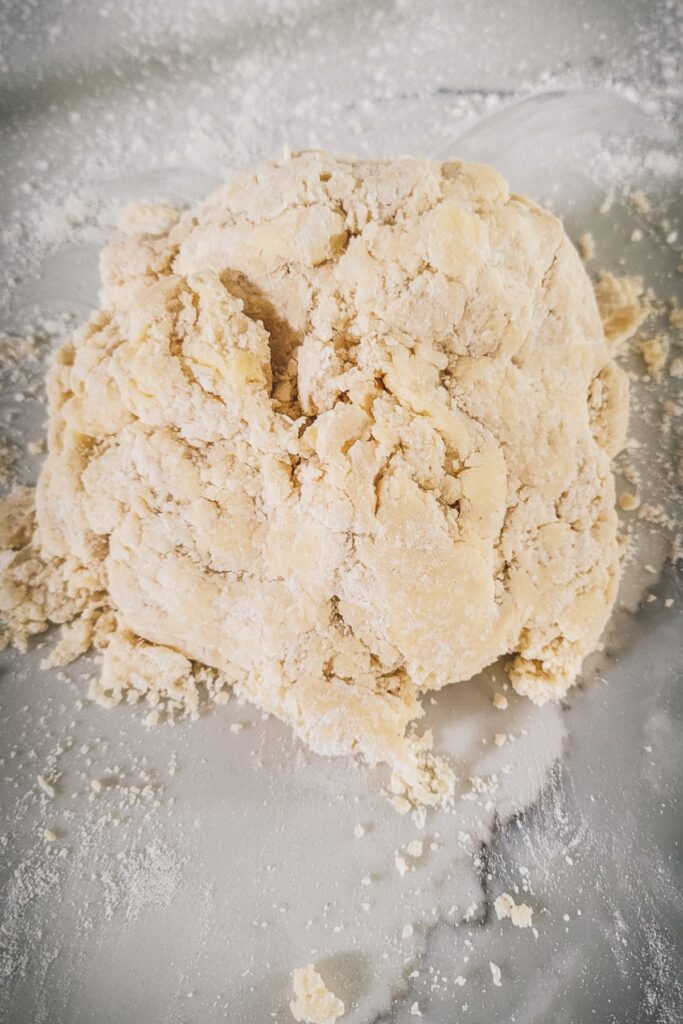
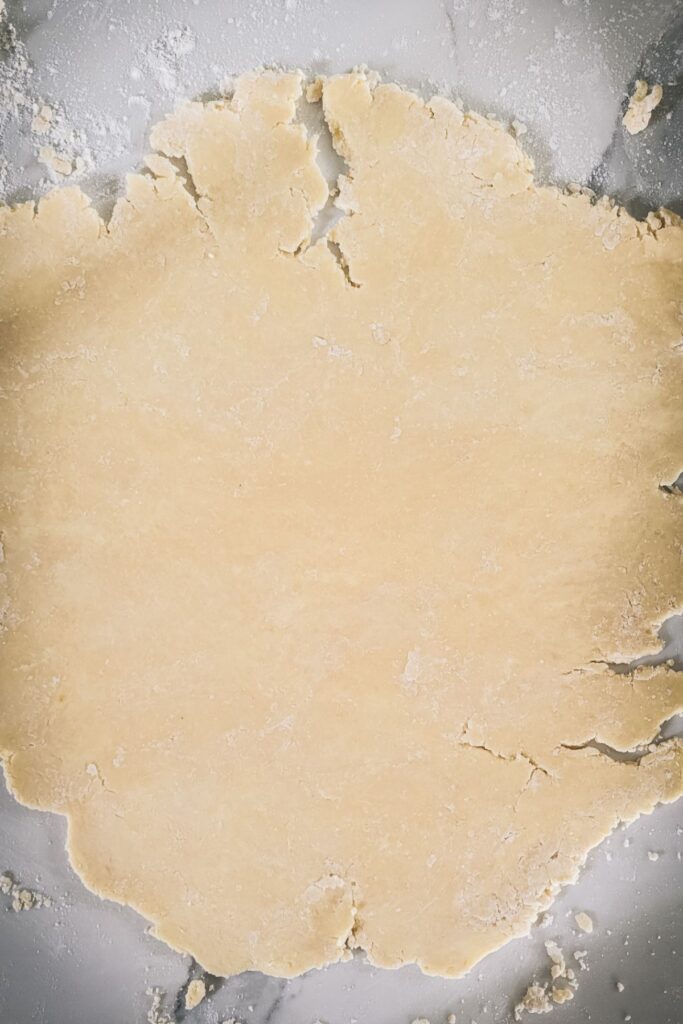
Note: You're looking for about a 6" circle - mine came out a little smaller than that, so I just gave them an extra roll, and they were perfect!
Now it's back in the fridge for another 10 minutes while you make the filling!
This is the easy part. First, preheat your oven to 350 F. Next, combine all the ingredients for the filling in a medium bowl, and whisk until smooth.
Take your muffin tray out of the oven. Evenly pour the batter between the twelve crusts.
Bake the pies for about 35-40 minutes, until the middles are set and no longer jiggle.
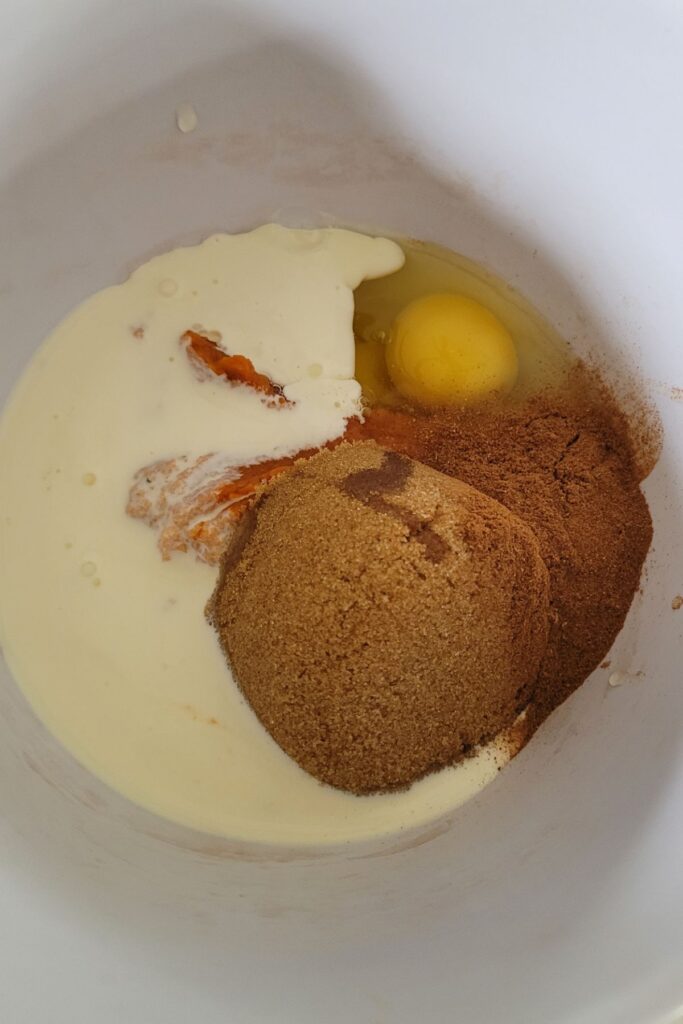
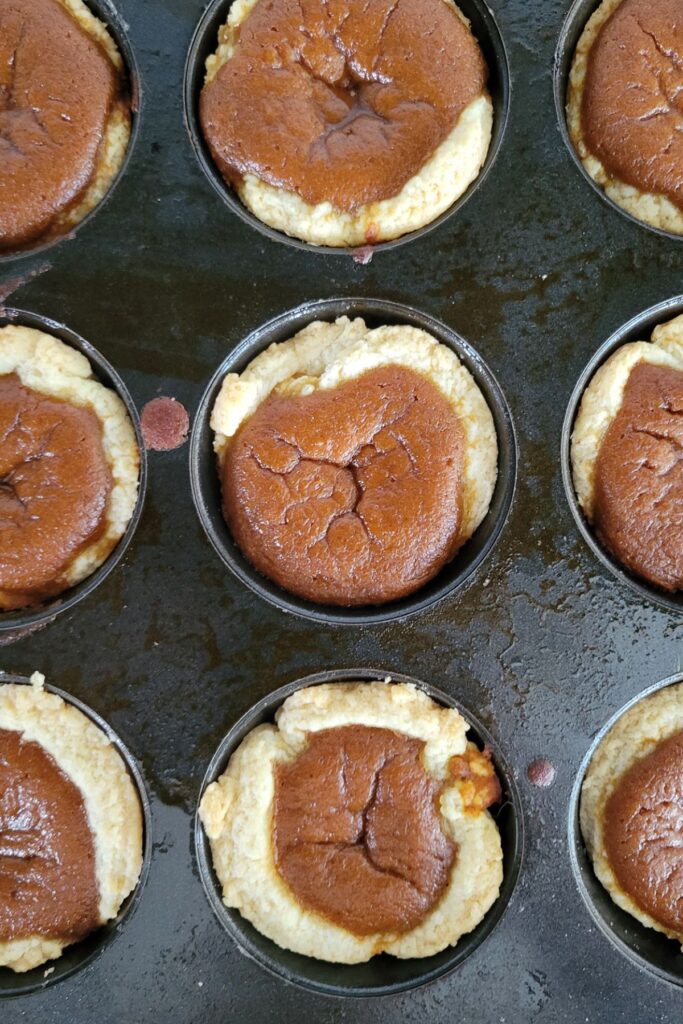
Let the pies cool in their muffin tins for five minutes, before popping them out with a fork and continuing the process on a cooling rack.
Serve them with some whipped cream and you're good to go! If you're obsessed with all things 'mini pumpkin', try out these adorable mini pumpkin cheesecakes! Or, try out a Southern holiday favorite - chess pie.
Storage
You can serve these pies at room temperature right after you make them, but after that, they should be kept in the fridge (they're also great served cold!).
How do you Freeze Pumpkin Pie?
This depends - you can freeze it before or after baking.
If you're freezing it before baking, just make sure you freeze it flat, so it doesn't spill everywhere. You will have to add on a few extra minutes for cooking to compensate for the cold pie when you bake it.
If you're freezing it after the pie is cooked, make sure it's completely cool before it hits the freezer. Otherwise, you just need to wrap it up in plastic wrap, and you should be good to go.
The pie can keep for a long time and still be good - but if it gets freezer burnt the texture starts to change. So, a shorter freeze time will likely benefit here.
Other Awesome Fall Recipes
📖 Recipe

Mini Pumpkin Pies
Equipment
- Muffin tin
Ingredients
For the Crust
- 2½ C flour
- 1 C cold butter cubed
- ¼ teaspoon salt
- 1 egg
- ¼ C ice water
- 1 tablespoon vodka
For the Filling
- 1 C pumpkin puree
- ¾ C brown sugar
- 2 eggs
- ½ C heavy cream
- 2 teaspoon pumpkin pie spice
- 2 tbsp bourbon optional
Instructions
For the Crust
- Combine the flour and butter together in a large bowl. Using a pastry cutter, cut in the butter until it resembles pea-sized lumps.
- In a separate bowl, combine the salt, egg ice water and vodka. Lightly mix together, and then pour into the flour and butter.
- Combine with a fork initially to get things going, then use your hands. Knead the dough until it just starts to come together (it should look fairly shaggy). Wrap the dough in plastic wrap, and place it in the freezer for 1 hour.
- Pull the crust out of the fridge. Let it sit on the counter for five minutes to soften up.
- On a lightly floured surface, begin rolling the dough, turning often to make sure it doesn't stick. Add more flour to the crust and the rolling pin if it is sticking. Roll the dough to about ¼-⅛" thick.
- Using a cookie cutter, cut 12 cicles out of the dough, and place in a prepared muffin tin. (If the circles aren't large enough to fit, just give them another little roll with the rolling pin until they're large enough).
- Place the muffin tin back in the fridge while you prepare the filling.
For the Filling
- Preheat your oven to 350°F.
- Combine all the ingredients, whisking together until smooth.
- Pour the filling equally into the crust in the muffin tins. Bake for 35-40 minutes, or until the filling is set in the middle.
- Let cool in the muffin tin for five minutes, then pop the tarts out and cool completely on a rack.
- Serve with whipped cream.
Video
Notes
- You can definitely use pre-made tart shells instead of making the crust yourself!
- If you are making the crust, make sure you handle it as little as possible. We need the butter to be cold to get those flaky layers!
Nutrition
Hi, I'm Cara! I'm a food writer, journalist, and recipe developer. I'm obsessed good food, good wine, good cocktails and entertaining. I've picked up a few tips over the years, and love sharing them with others.




Leave a Reply