As an Amazon Associate I earn from qualifying purchases.
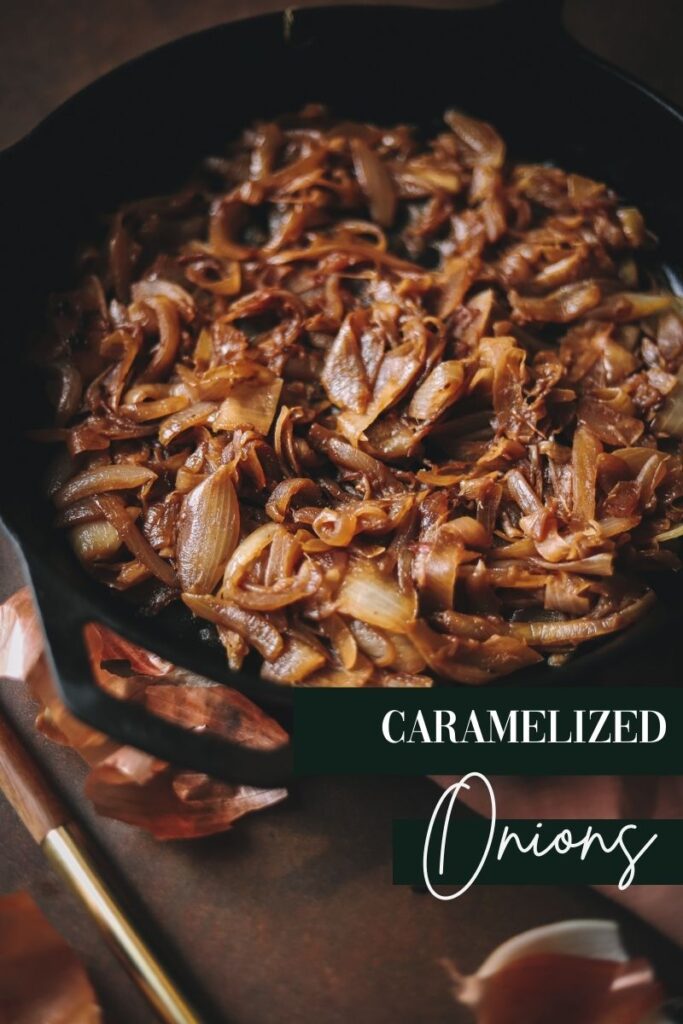
Caramelized onions are something that everything *thinks* they know how to do, but in actuality, they really don't. We're going to go through the process, low and slow, step by step so you get perfect caramelized onions every time. And we're going to make them in a cast iron skillet to keep it super simple.
Jump to:
What Exactly are Caramelized Onions?
As you may or may not know, onions are actually full of sugar. You don't get that sweetness when they're raw most of the time. But start cooking them? Now we're talking. Caramelizing specifically means that we're heating the sugar in something up until becomes sweet, deeply complex flavor-wise, and just all around delicious. This process also makes the onions so soft they basically melt in your mouth. There's a lot of science behind why this happens, but we're not going to get into that here. If you want more info, Living Well Kitchen provides and excellent breakdown.
TL;DR version: Caramelized onions are what happens when you cook onions low and slow, their sugar molecules breakdown, and you're left with a pile of sweet, caramel flavored vegetables that are a great topping for just about anything you can think of.
What's the Difference Between Caramelized and Fried Onions?
There's a huge difference between frying onions and caramelizing them. When you fry an onion, for example, it's usually for a shorter amount of time over higher heat. It still retains a lot of it's sharper onion flavour and texture. They may start to brown, and get soft, and while this is totally delicious, it's not the same process of caramelizing, therefore the taste is significantly different. The breakdown of the sugar molecules just isn't happening when you sauté - it needs to be the low and slow cooking technique for that.
How do you Make Them?
Making caramelized onions is relatively simple, but it does take some know how. I like making caramelized onions in a cast iron skillet, here's why. The cast iron, once it comes to temperature, heats much more evenly than other types of sauté pans (a Dutch oven is also a great choice for this). So I know there's much less of a chance that my onions will burn over the long cooking process. Second cast irons tend to be pretty big with a large surface area. This means your onions are going to be able to spread out more in the pan. It's important, because it means as they start sweating and releasing their juices, the water evaporates, rather than hanging around and steaming the onions (definitely not what we want). Remember we're looking for caramelization browning, not burn browning (and there is a difference!). You want your onions to very slowly deepening from white, to yellow, to beige to deep gold all the way through as they cook. You don't want them to hit the pan, and then have their surface immediately start to brown. This means it's skipping the caramelization and going straight to burn.
Patience is a Virtue
This is the hardest part for me. You will, without a doubt, be tempted halfway through this process to turn the heat up because you think it's not working. DO NOT DO THIS. Just wait it out. The onions will get there, I promise. If you turn up the heat, again you risk burning them, and there's not really any coming back from that.
These guys are going to take between 30 and 45 minutes to properly caramelize. Just hold on. You can do it. Don't touch the burner.
And uh, you also have to pretty much stir them the whole time so they don't burn. Sorry.
How to Slice them
Yes, this actually is important. So we're gong to have the onions in long thin pieces, and we're going to cut them along their natural grain (so from their root to their tip) rather than the normal perpendicular route. This allows the onions to break down faster, and let's be real, any hack we have to make this a faster process is good by me.
How to NOT Burn Them
Once the onions have sweated and released all their liquid, they get dry and tend to start to stick and burn to the bottom of the pan, even if you haven't turned the heat up. The solution? Add about two tablespoons of water whenever this starts to happen. It will loosen the onions up so they don't burn, but doesn't effect the flavor or the cook time.
The Color Stages
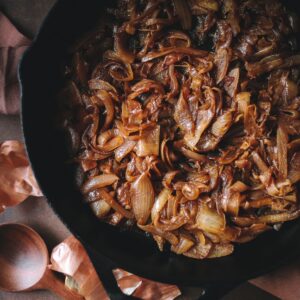
Here's what your onions should look like as they caramelize to that deep golden color:
Stage 1: Super light, not soft

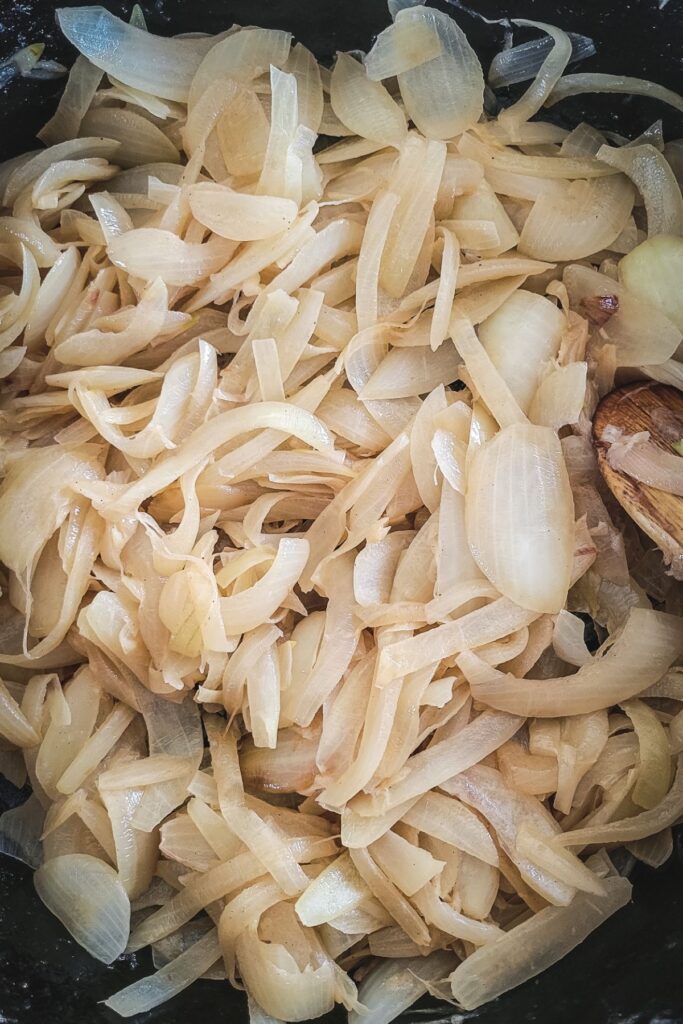
Stage 2: Going blond, translucent, and soft
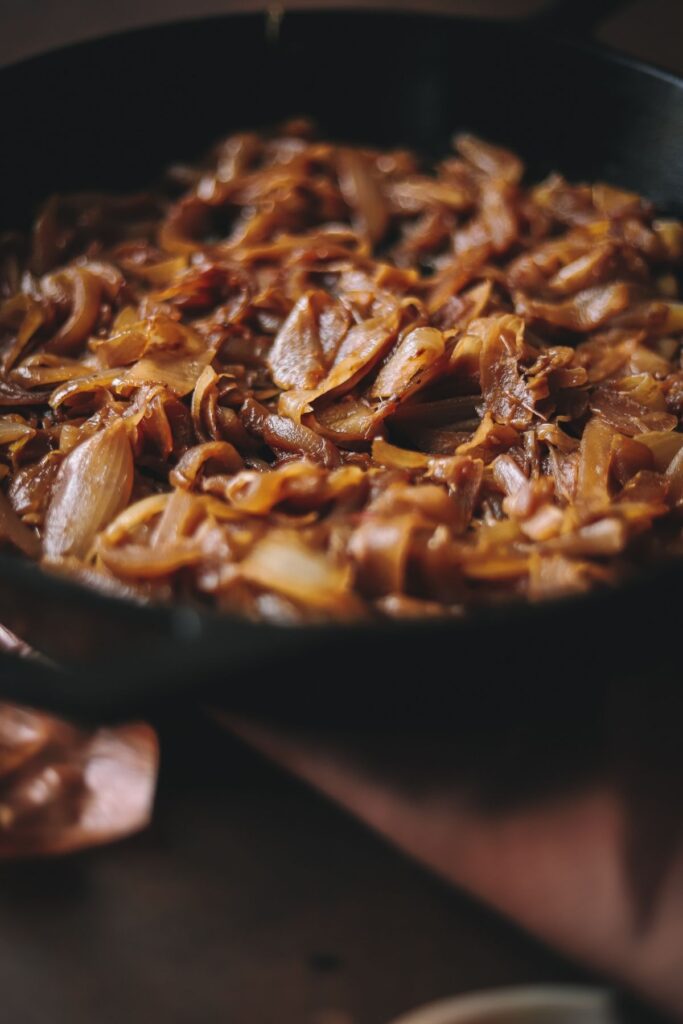
Stage 3: Golden and Soft
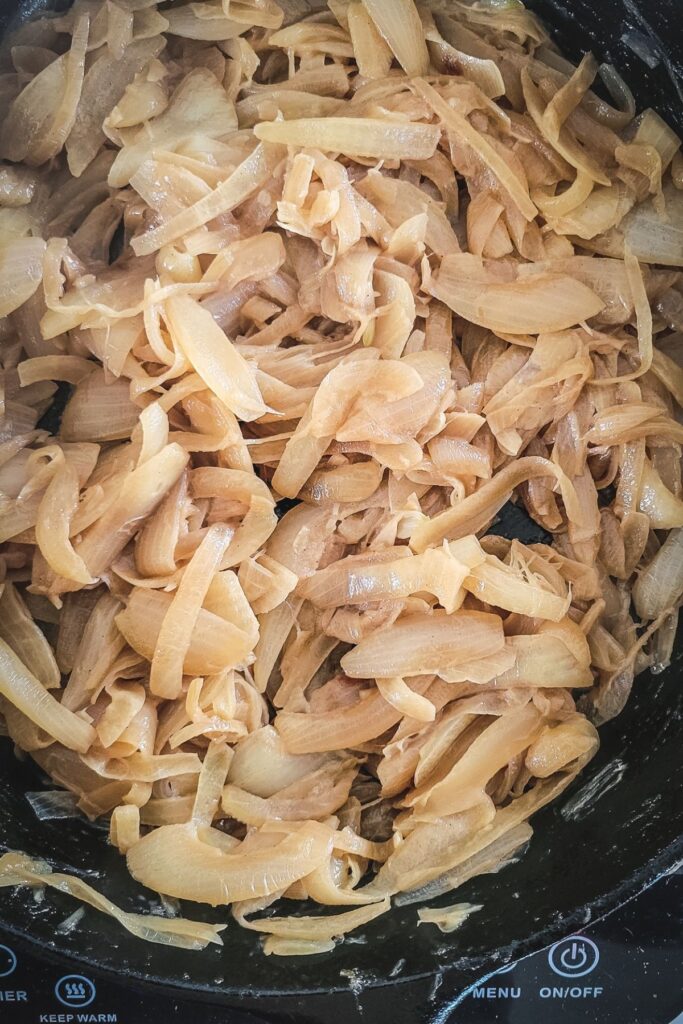
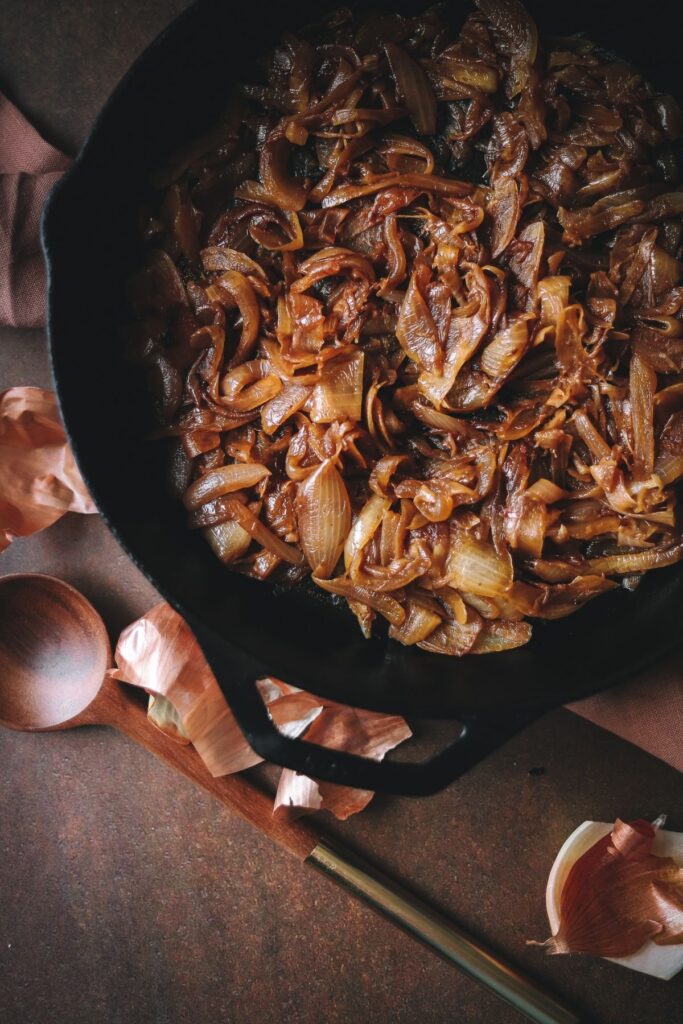
Stage 4: Deep gold, jammy goodness
Can You Make them Ahead of Time?
Yes, absolutely. And thank God, because if you're trying to make these on a weeknight as like a pizza topping or something, that's not super time-efficient. You can make these up to a week ahead of time, and keep them in the fridge, or even freeze them (see below for freezing and storage instructions).
How Long does it Take?
There's really no way around this - depending on how deeply colored and flavored you want your onions, we're talking 30-45 minutes. This is why making a bigger batch and freezing them is a great idea.
Freezing and Storage
Once your onions are caramelized to your liking, take them out of the cast iron and place them in an airtight container. The will keep up to a week in the fridge, or for 3 months in the freezer. Just make sure you remember to get them out to thaw at room temperature a couple of hours before you need to use them.
How can You Use Caramelized Onions?
So many ways! Here's a comprehensive (but definitely non-exhaustive) list:
- French Onion Soup (classic, obviously)
- On baguettes with Gruyere cheese
- Risotto
- Pasta
- Pizza toppings
- On steak
- On burgers
- On hot dogs
- On a charcuterie board
- This French Onion Brie Cheese appetizer
- In salads
- In quiche
- Make a jam
- In a quesadilla
Honestly the list goes on and on - they enhance pretty much anything you can think of. The sky's the limit!
Variations
There are lots of different flavours you can add to caramelized onions in a cast iron skillet, but some of the more popular ones are balsamic vinegar, maple, brown sugar, honey, and even bourbon. You'll notice though, that those are all very sweet and sugary options. And if we cook these guys right, you won't need to add any additional sweetness.
And, by the way, adding balsamic vinegar is NOT how you get the golden color. Sorry, there really are no shortcuts here 🙁
FAQ's
Slice them thin, and cook them low and slow in a large skillet with some butter.
30-45 minutes, depending on how dark you want them and what you're using them for.
In caramelized onions, cooking them slowly and for longer means the larger sugar molecules start to break down, leaving a sweet and complex flavour. Frying onions is much quicker, and so much of the sharp onion flavor and texture is left.
📖 Recipe
Caramelized Onions in a Cast Iron Skillet
Equipment
- Cast Iron Skillet
Ingredients
- 6-8 onions medium sized
- 2 tablespoon butter
- water as needed
Instructions
- Preheat your cast iron skillet over medium low heat. You can maybe go as high as medium if you keep a close eye on them, but no higher.
- First, peel all of your onions. Cut each one in half, and then slice off the roots and tops. Thinly slice vertically from the root (see video).
- Add the butter to the pan. After it melts add the onions by two handfuls at a time, letting each bunch cook for about a minute before you add the next onions. Repeat until all the onions are in the pan.
- Stir the onions every 2-5 minutes, as needed.
- Add water, as needed (see notes).
- Once the onions are a deep, golden color, remove from heat. Store in an airtight container in the fridge for up to one week.
Video
Notes
Nutrition
Jump to:

Hi, I'm Cara! I'm a food writer, journalist, and recipe developer. I'm obsessed good food, good wine, good cocktails and entertaining. I've picked up a few tips over the years, and love sharing them with others.
Leave a Reply